Deploy Debezium and Kafka on AKS using Strimzi Operator

This tutorial follows Debezium official documentation Deploying Debezium on Kubernetes, but modified for Azure Kubernetes Service and Azure Container Registry.
1. Prerequisites
You need an Azure account, Azure subscription, and Azure resource group before getting started. You also need to have some understanding of CLI, Docker, Kafka, Debezium, and Kubernetes
Azure CLI
If you haven't set up your Azure CLI environment, follow this documentation to set it up. Remember to set the subscription and resource group that you will use to create AKS cluster as default
Azure Kubernetes Cluster
Follow this document to get your Kubernetes cluster ready on AKS: Create an AKS Cluster
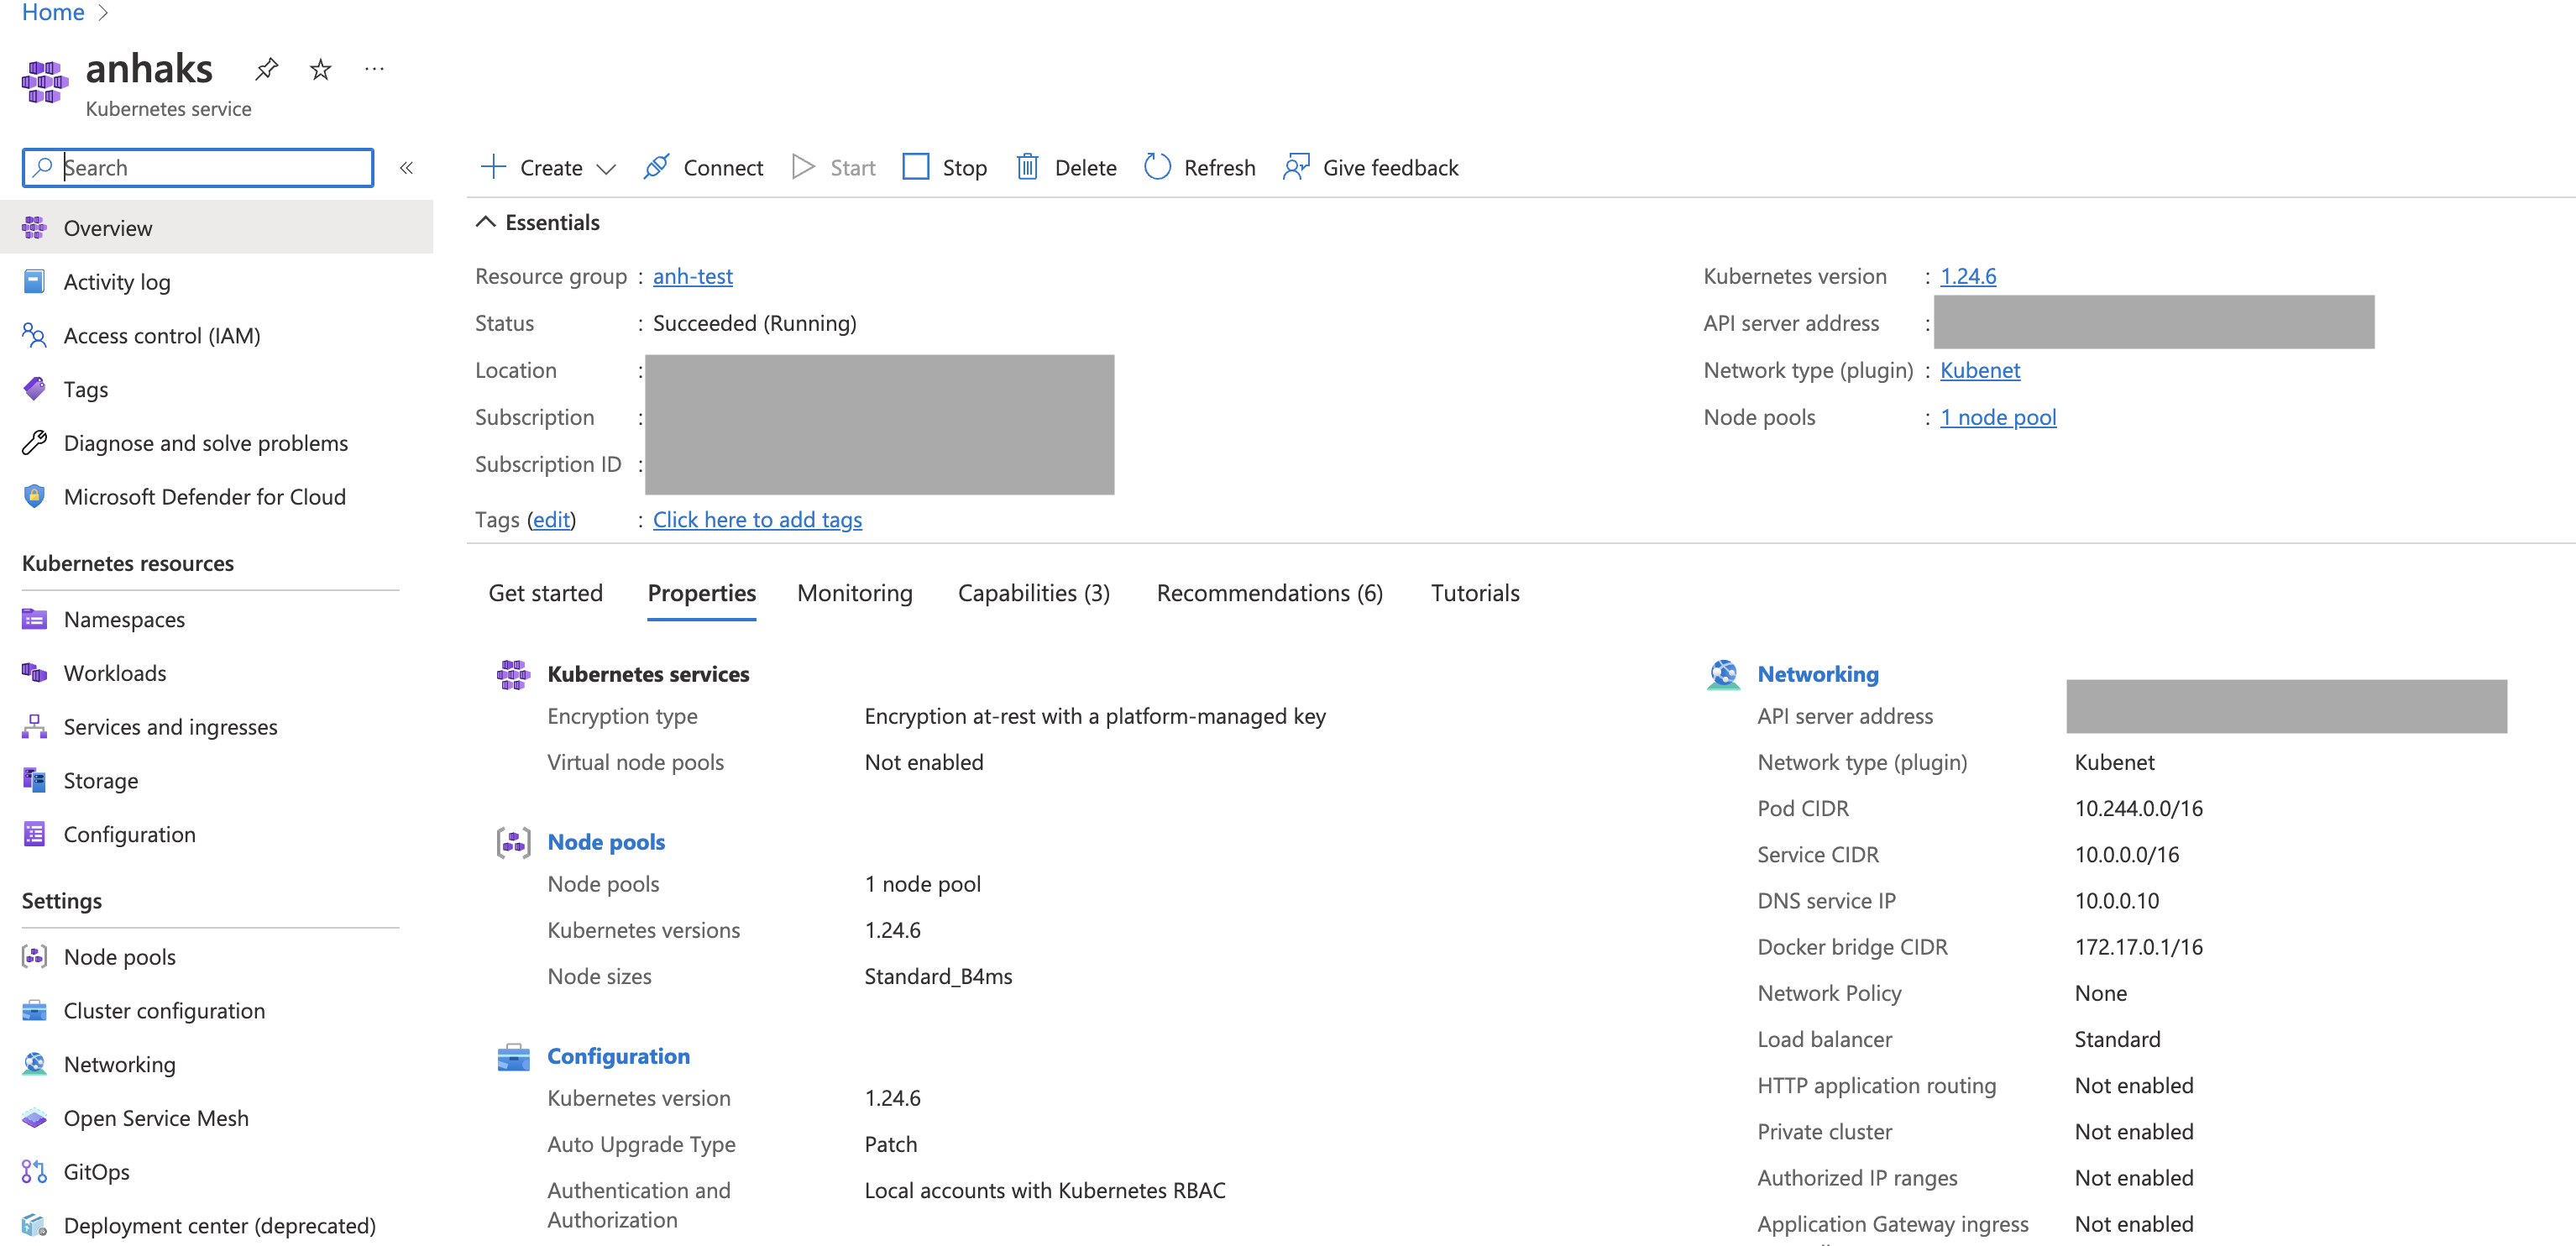
After your aks cluster is created, you should see it on Azure Portal as below. For demo purpose, I created an AKS cluster called anhaks in anhtest resource group
Set up kubectl in local
You should have kubectl installed on your local. If you are using .zshrc, you can also set up autocomplete for kubectl as below. In case you are using ohmyzsh like I do, add kubectl to your plugins array in your ~/.zshrc file plugins=(... kubectl) (Refer here)
  source <(kubectl completion zsh)  # set up autocomplete in zsh into the current shell`
  echo '[[ $commands[kubectl] ]] && source <(kubectl completion zsh)' >> ~/.zshrc
After autocomplete is set up successfully, you should be able to use k instead of kubectl for all of your kubectl command
Interact with your AKS cluster in your terminal
Run below script to set up your aks cluster in your local
$az aks get-credentials --resource-group <myResourceGroup> --name <myAKSCluster>If you use Mac, a file ~/.kube/config will be created with 3 things related to your cluster: cluster, context, and user. You can view tracked clusters and contexts in this file ~/.kube/config or run below commands. You should see your newly-created cluster in this kube/config file
  $kubectl config view

  $kubectl config current-context
Next create a namespace debezium-example and set it as default for your context
# Create Namespace
  $kubectl create ns debezium-example

# set default namespace, cluster and user for context
  $kubectl config set-context \
        <CONTEXT_NAME> \
        --namespace=<NAMESPACE_NAME> \
        --cluster=<CLUSTER_NAME> \
        --user=<USER_NAME>

# set Context as default
  $kubectl config use-context <Context Name>
Note: The kube config file is a useful tool that helps you interact with your cluster using CLI. If you delete a cluster, you should unset deleted cluster from kubectl config file to keep this file clean. For example, you can unset cluster/context/user in kube config like as below
  $kubectl config unset contexts.anh-test-aks

  $kubectl config unset users.clusterUser_anh-test_anh-test-aks

  $kubectl config unset clusters.anh-test-aks
2. Deploy strimzi operator
First deploy Operator lifecycle manager as presequisite to deploy strimzi operator. We need OLM because the Operator Lifecycle Manager (OLM) extends Kubernetes to provide a declarative way to install, manage, and upgrade Operators on a cluster
$curl -sL https://github.com/operator-framework/operator-lifecycle-manager/releases/download/v0.20.0/install.sh | bash -s v0.20.02 namespaces got created: olm and operators. operators namespace will be empty until we install strimzi
namespace: olm
- services:
k get service -n olm- operatorhubio-catalog
- packageserver-service
- deployments:
k get deployment -n olm- catalog-operator
- olm-operator
- packageserver
- pods:
k get pod -n olm- catalog-operator-6587ff6f69-sv2zf
- olm-operator-6ccdf8f464-dnk98
- operatorhubio-catalog-kxk5z
- packageserver-5b956ccc98-w7j2l
- packageserver-5b956ccc98-xsqjt
Secondly, deploy strimzi operator
$kubectl create -f https://operatorhub.io/install/strimzi-kafka-operator.yamlA deployment and pod will be created for strimzi
namespace: operators
- services:
k get service -n operators-> empty - deployments:
k get deployment -n operators- strimzi-cluster-operator-v0.32.0
- pods:
k get pod -n operators- strimzi-cluster-operator-v0.32.0-77c6dc8b69-qcbxj
You can find all kubernetes manifest yml files used in below sections at this Github repo
3. Create secrets and roles
These secrets and roles helps Kafka Connector connects to the database. Create them in debezium-example namespace. Run below scripts at the directory of the yml files:
$kubectl create -n debezium-example -f debezium-secret.yml- secrets: debezium-secret (
kubectl get secrets -n debezium-example) - The username and password contain base64-encoded credentials (debezium/dbz) for connecting to the MySQL database, which we will deploy later.
$kubectl create -n debezium-example -f debezium-role.yml- Role
connector-configuration-rolecreated (kubectl get roles -n debezium-example)
$kubectl create -n debezium-example -f debezium-role-binding.yml- Created a role binding
connector-configuration-role-binding(kubectl get rolebinding -n debezium-example)
Note: If you look in 🔗debezium-role-binding.yml file, you will see that the subjects.name of the Service Account is
debezium-connect-cluster-connect. The service account will be created by Strimzi once we deploy Kafka Connect. The name of the service account take the form$KafkaConnectName-connect. Later on, we will the create Kafka Connect cluster nameddebezium-connect-clusterand therefore we useddebezium-connect-cluster-connecthere as a subjects.name.
At this point, we only created secrets and roles, the debezium-example namespace doesn't have any service, deployment or pod yet.
4. Deploy kafka cluster
Create debezium-cluster kafka cluster with kafka.yml🔗
  $kubectl create -n debezium-example -f kafka.yml
> kafka.kafka.strimzi.io/debezium-cluster created

# Wait until kafka cluster ready
  $kubectl wait kafka/debezium-cluster --for=condition=Ready --timeout=300s -n debezium-example
Validate kafka cluster has been created
  $kubectl get kafka -n debezium-example
  NAME               DESIRED KAFKA REPLICAS   DESIRED ZK REPLICAS   READY   WARNINGS
  debezium-cluster   1                        1                     True

  $kubectl get service -n debezium-example
  NAME                                        TYPE        CLUSTER-IP     EXTERNAL-IP   PORT(S)                               AGE
  debezium-cluster-kafka-0                    NodePort    10.0.49.104    <none>        9094:31195/TCP                        20h
  debezium-cluster-kafka-bootstrap            ClusterIP   10.0.194.235   <none>        9091/TCP,9092/TCP,9093/TCP            20h
  debezium-cluster-kafka-brokers              ClusterIP   None           <none>        9090/TCP,9091/TCP,9092/TCP,9093/TCP   20h
  debezium-cluster-kafka-external-bootstrap   NodePort    10.0.66.165    <none>        9094:32034/TCP                        20h
  debezium-cluster-zookeeper-client           ClusterIP   10.0.104.91    <none>        2181/TCP                              20h
  debezium-cluster-zookeeper-nodes            ClusterIP   None           <none>        2181/TCP,2888/TCP,3888/TCP            20h

  $kubectl get deployment
  NAME                               READY   UP-TO-DATE   AVAILABLE   AGE
  debezium-cluster-entity-operator   1/1     1            1           20h

  $kubectl get pod
  NAME                                                READY   STATUS      RESTARTS   AGE
  debezium-cluster-entity-operator-5cc76b7dfb-njt62   3/3     Running     0          20h
  debezium-cluster-kafka-0                            1/1     Running     0          20h
  debezium-cluster-zookeeper-0                        1/1     Running     0          20h
5. Deploy the database (mysql)
Create mysql service and deployment
  $kubectl create -n debezium-example -f mysql.yml

  $kubectl get pod

  $kubectl get service

  $kubectl get deployment
6. Deploy Kafka Connect Cluster
Step 1: Create a secret for your container registry in the same k8s namespace
If you use docker container registry, use your docker username and password to create a k8s secret. For example, I created anhdockercr-secret below:
  $kubectl create secret docker-registry anhdockercr-secret --docker-server=docker.io --docker-username=anhhoangchu --docker-password=<password>

  $kubectl get secret anhdockercr-secret --output=yaml > anhdockercr-secret.yml

  $kubectl get secret anhdockercr-secret --output="jsonpath={.data.\.dockerconfigjson}" | base64 --decode
If you use Azure Container Registry (ACR): follow this doc. My ACR is anhcr. Remember to change the role to acrpush from acrpull to get the permission to both push and pull images to your Azure Container Registry. Refer my az-ad-sp.sh for more information.
# Create image pull secret

  $kubectl create secret docker-registry <secret-name> \
    --namespace <namespace> \
    --docker-server=<container-registry-name>.azurecr.io \
    --docker-username=<service-principal-ID> \
    --docker-password=<service-principal-password>
For example, I created anhcr-secret for k8s secret
  $kubectl create secret docker-registry anhcr-secret \
    --namespace debezium-example \
    --docker-server=anhcr.azurecr.io \
    --docker-username=92cd834d-74bc-4555-976d-101aef5cf9b0 \
    --docker-password=<sp-password-after-created>

# verify
  $kubectl get secret anhcr-secret --output=yaml > anhcr-secret.yml
Step 2: Modify the KafkaConnect Manifest yaml to build and push image to Container Registry.
Option 1: Creating a new container image automatically using Strimzi 🔗
Update the build section in your kafka-connect-build.yml file. Rember to add the secret you created in Step 1 as pushSecret
  build:
    output:
      type: docker
      image: anhcr.azurecr.io/debezium-connect-cluster-image:latest
      pushSecret: anhcr-secret
    plugins:
      - name: debezium-mysql-connector
        artifacts:
          - type: tgz
            url: https://repo1.maven.org/maven2/io/debezium/debezium-connector-mysql/2.1.1.Final/debezium-connector-mysql-2.1.1.Final-plugin.tar.gz
            sha512sum: e8f0cdfb2f2c15d8c4685bc4736fd1a94f80bda0327dd02e771a10c8d285b4b8c1e17e7c583b55a174cb375ccd047156e67de44cdb50c7634a5710d7f60f6049
      - name: debezium-postgres-connector
        artifacts:
          - type: zip
            url: https://repo1.maven.org/maven2/io/debezium/debezium-connector-postgres/2.1.1.Final/debezium-connector-postgres-2.1.1.Final-plugin.zip
            sha512sum: a647a5c4ada510ba521ecdbdc789c01ee73675bb9a97dbf45d0f70251be778360aa52de62b60f8f2791f875d95e7793cad96c5dcddb911c2cea79ea40e85fbe4
Option 2: Creating a Docker image from the Kafka Connect base image 🔗
Instead of building the image in the yaml file using Strimzi, you can build your own images based on Kafka Connect image
a) Download Debezium connector plugins from Maven to my-plugins directory on your local
b) Build your own image with docker build
- If your machine uses amd64 architecture, you only need to run the regular docker build. If you use Azure Container Registry, refer back to Step 1 to create service principal to login
  $docker login <container-registry> --username <service-principal-name> --password <service-principal-password>

  $docker build -t <container-registry>/<image-name>:<tag> .

  $docker push <container-registry>/<image-name>:<tag>
For example
  $docker login anhcr.azurecr.io --username 92cd834d-74bc-4555-976d-101aef5cf9b0 --password <password>

  $docker build -t anhcr.azurecr.io/debezium-connect-cluster:latest .

$docker push anhcr.azurecr.io/debezium-connect-cluster:latest- If your machine uses arm64 architecture (i.e. macbook apple m1, etc), it gets a little more tricky! You will need to use
docker buildx buildto create a multi-architecture image
  $docker login anhcr.azurecr.io --username 92cd834d-74bc-4555-976d-101aef5cf9b0 --password <password>

  $docker buildx build --platform linux/arm64,linux/amd64 -t anhcr.azurecr.io/debezium-connect-cluster:latest . --push
After pushing the image to ACR, you should be able to see your image on Azure Portal

Step 3: Deploy kafka-connect resource
Use kafka-connect-build.yml file if you choose Option 1 in Step 2.
$kubectl create -n debezium-example -f kafka-connect-build.ymlOR Use kafka-connect.yml file if you choose Option 2 in Step 2
$kubectl create -n debezium-example -f kafka-connect.ymlNote: If you want to publish your image with a different name, remember to update the above yaml file spec.image:
spec:
...
    image: <your-container-registry>/<your-image:tag>
...
Step 4: Validate the kafka connect cluster
  $kubectl get kafkaconnect
NAME                       DESIRED REPLICAS   READY
debezium-connect-cluster   1                  True

  $kubectl get service
NAME                                        TYPE        CLUSTER-IP     EXTERNAL-IP   PORT(S)                               AGE
debezium-cluster-kafka-0                    NodePort    10.0.49.104    <none>        9094:31195/TCP                        9h
debezium-cluster-kafka-bootstrap            ClusterIP   10.0.194.235   <none>        9091/TCP,9092/TCP,9093/TCP            9h
debezium-cluster-kafka-brokers              ClusterIP   None           <none>        9090/TCP,9091/TCP,9092/TCP,9093/TCP   9h
debezium-cluster-kafka-external-bootstrap   NodePort    10.0.66.165    <none>        9094:32034/TCP                        9h
debezium-cluster-zookeeper-client           ClusterIP   10.0.104.91    <none>        2181/TCP                              9h
debezium-cluster-zookeeper-nodes            ClusterIP   None           <none>        2181/TCP,2888/TCP,3888/TCP            9h
debezium-connect-cluster-connect-api        ClusterIP   10.0.203.251   <none>        8083/TCP                              28m
mysql                                       ClusterIP   None           <none>        3306/TCP                              9h

  $kubectl get pod
NAME                                                READY   STATUS    RESTARTS   AGE
debezium-cluster-entity-operator-5cc76b7dfb-njt62   3/3     Running   0          8h
debezium-cluster-kafka-0                            1/1     Running   0          8h
debezium-cluster-zookeeper-0                        1/1     Running   0          8h
debezium-connect-cluster-connect-8fd6fd988-7fgsg    1/1     Running   0          2m57s
mysql-6fc7c66c64-qzbdm                              1/1     Running   0          8h

  $kubectl get deployment
NAME                               READY   UP-TO-DATE   AVAILABLE   AGE
debezium-cluster-entity-operator   1/1     1            1           8h
debezium-connect-cluster-connect   1/1     1            1           3m1s
mysql                              1/1     1            1           8h
Troubleshooting: If the kafka connect cluster is not ready, and NO service/deployment/pod are created for this resource, we will have to delete the resouces and try again
To delete all resources relating to KafkaConnect (debezium-connect-cluster), you need to delete the kafkaconnect custom resource
$kubectl delete kafkaconnect debezium-connect-cluster7. Deploy Debezium Connector
  $kubectl create -f debezium-connector-mysql.yml

  $kubectl get kafkaconnector
NAME                       CLUSTER                    CONNECTOR CLASS                              MAX TASKS   READY
debezium-connector-mysql   debezium-connect-cluster   io.debezium.connector.mysql.MySqlConnector   1           True
8. Verify deployment
$kubectl run -n debezium-example -it --rm --image=quay.io/debezium/tooling:1.2 --restart=Never watcher -- kcat -b debezium-cluster-kafka-bootstrap:9092 -C -o beginning -t mysql.inventory.customersThe above actually comprises of 2 commands:
-
kubectl runcreates thewatchercontainer in interactive-itmode using imagetooling:1.2from quay.io container registry. We need this container up and running so we can execute a shell commandkcaton this container. Thiswatcherpod is temporary and will be deleted if you exit the terminal -
The 🔗
kcatutility in consumer mode (--C) starts watching topic (--ttag)mysql.inventory.customers(customers table in inventory database from mysql server) from kafka broker (--b)debezium-cluster-kafka-bootstrapat port 9092 starting with offset set to beginning (--o beginning).
Leave the above running, switch to another shell to connect to mysql db
  $kubectl run -n debezium-example -it --rm --image=mysql:8.0 --restart=Never --env MYSQL_ROOT_PASSWORD=debezium mysqlterm -- mysql -hmysql -P3306 -uroot -pdebezium

mysql> use inventory
mysql> update customers set first_name="Sally Marie" where id=1001;
kubectl run: This command is used to create and run a deployment in a Kubernetes cluster.
-n debezium-example: This option specifies the namespace in which the deployment should be created.
-it: This option specifies that an interactive terminal should be attached to the container.
--rm: This option specifies that the container should be automatically removed when it is stopped.
--image=mysql:8.0: This option specifies the Docker image that should be used for the container. In this case, it is using the MySQL 8.0 image.
--restart=Never: This option specifies that the container should not be restarted if it exits.
--env MYSQL_ROOT_PASSWORD=debezium: This option sets an environment variable for the container, in this case setting the root password for the MySQL instance.
mysqlterm: name of the mysql terminal pod created to interact with mysql deployment. This pod is temporary and will be deleted if you exit the terminal
mysql -hmysql -P3306 -uroot -pdebezium: These are arguments being passed to the mysql command, which is being run inside the container. It specifies the hostname (-h), port (-P), username (-u), and password (-p) to use when connecting to the MySQL instance.
Switch back to previous shell to view the kafka interactive output in json format. View the sample output here
If you want to run another kcat command to interact with the kafka broker, use kubectl exec as long as your watcher pod spinned up earlier is still running
kubectl exec (POD | TYPE/NAME) [-c CONTAINER] [flags] –- COMMAND [args...] [options]
For example, below command will show metadata of the kafka cluster
  $kubectl get pod # check if watcher is still running
  NAME                                                READY   STATUS    RESTARTS   AGE
  debezium-cluster-entity-operator-5cc76b7dfb-njt62   3/3     Running   0
  debezium-cluster-kafka-0                            1/1     Running   0
  debezium-cluster-zookeeper-0                        1/1     Running   0
  debezium-connect-cluster-connect-8fd6fd988-7fgsg    1/1     Running   0
  mysql-6fc7c66c64-qzbdm                              1/1     Running   0
  mysqlterm                                           1/1     Running   0
  watcher                                             1/1     Running   0

  $kubectl exec watcher -- kcat -b debezium-cluster-kafka-bootstrap:9092 -C -L
  Metadata for all topics (from broker -1: debezium-cluster-kafka-bootstrap:9092/bootstrap):
  1 brokers:
    broker 0 at debezium-cluster-kafka-0.debezium-cluster-kafka-brokers.debezium-example.svc:9092 (controller)
  14 topics:
  ...
You can also inspect kafka topics with below command. View all the topics that were created for this kafka cluster here
$kubectl get kt > kafka-topics.txt